Kick-Start with React-Native
Let's a create a react-native app and try running it on a android device or emulator
Introduction to React Native:
React Native is an open-source mobile app development framework created by Meta Platforms, Inc. It was first released in 2015 as an internal hackathon project at Facebook. The goal of React Native was to create a way to build native mobile apps using JavaScript, without having to write separate code for each platform.
React Native quickly gained popularity, and in 2016, it was open-sourced to the public. Since then, it has been used to build a wide variety of mobile apps, including Instagram, Facebook, and Skype.
React Native is based on the React JavaScript library, which is used to build user interfaces. React Native uses React to render native UI components on each platform. This means that React Native apps look and feel native, even though they are written in JavaScript.
React Native is a powerful and versatile framework that can be used to build a wide variety of mobile apps. It is easy to learn and use, and it has a large and active community of developers. If you are looking for a way to build native mobile apps using JavaScript, React Native is a great option.
Installation and Setup:
Before running a React Native project we need the following things installed on your PC:
Any code editor ( VS Code is recommended )
A physical mobile device or Virtual emulator( ex. Android Studio, XCode)
A detailed installation guide is available in React Native documentation
Creating a React Native app:
Let's start creating a react native app using 'react-native-cli'. Now select any folder where you want all of your react-native projects and open your terminal there.
$ npx react-native@latest init <Project_Name>
The above command will automatically install react-native in case, you don't already have it on your device. After hitting this command on the terminal window, wait for some time till it downloads the sample template and installs all the dependencies.
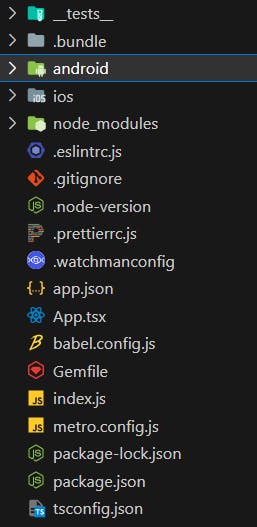
After successfully creating the app open that generated folder into any code editor, my choice is VS Code, the link to download is already above. Now you'll find the following files in the generated folder

Here, there are many files which are very unnecessary for us for now, all we have to worry about is App.tsx. Whatever we are going to implement and write code will go in the App itself. There's also a file index.js, this file renders the total app and gives it to the device.
Starting the app:
To start the app you need to have an emulator or a physical which is connected to the same network as your device and also the device should be connected to your PC via a cable. To start the app up and running on our localhost, we need to use any of the following commands
$ npx react-native start
This above command is used to launch the app on both IOS and Android devices.
$ npx react-native run-android
This above command is used to launch the app on the Android device.
$ npx react-native run-ios
This above command is used to launch the app on the IOS device.
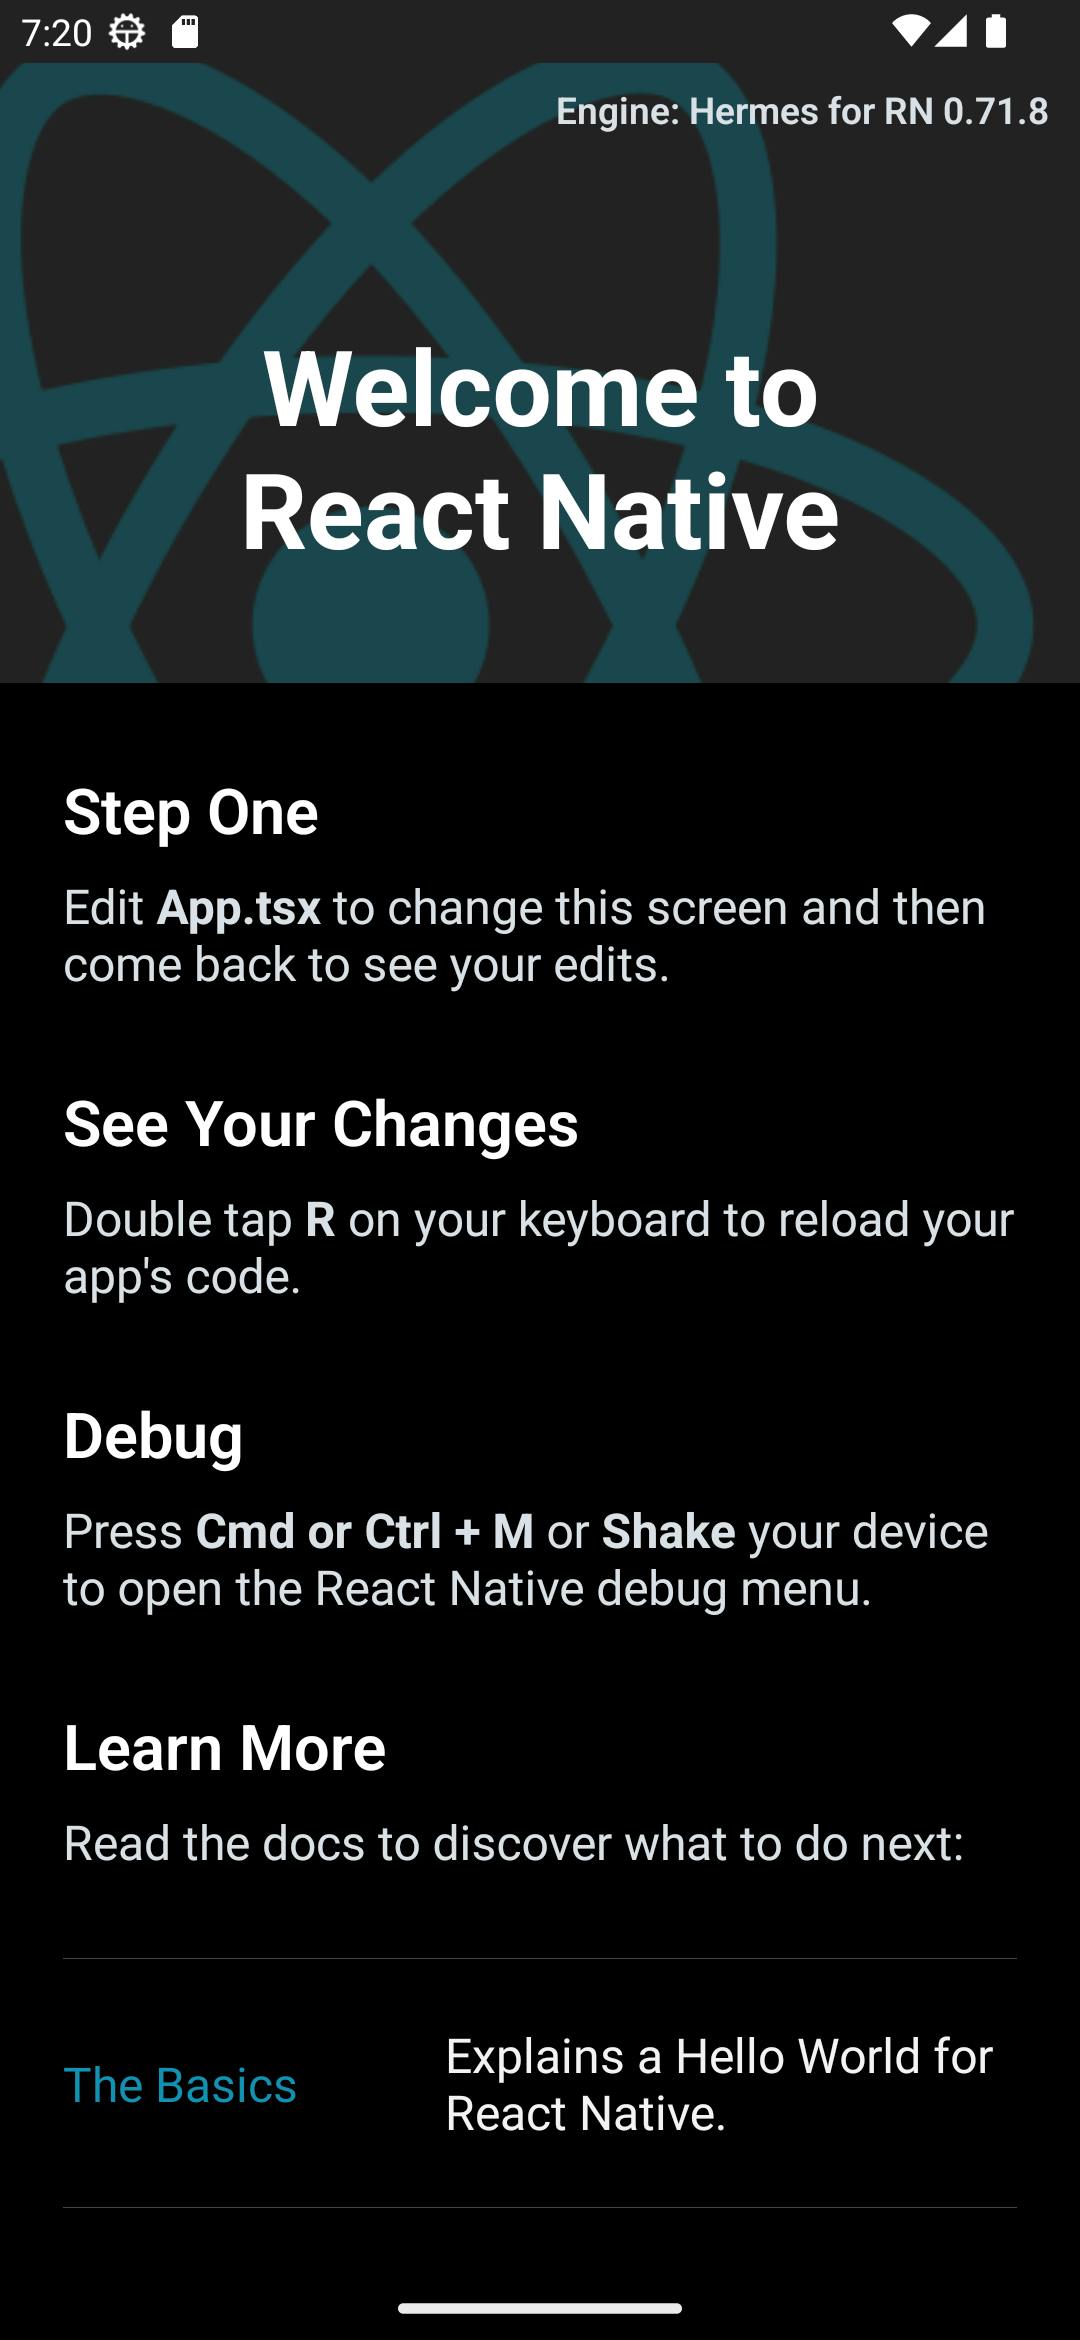
If you have installed everything that is mentioned in the starting you shall be seeing the following on your device.

If you have come this far, congratulations you are a step ahead of everyone.
Solving the errors:
If your app didn't load to the emulator or device and shows errors like the following

This might occur because there is no local.properties file in the Android folder of the app. To resolve this you should be creating a file called local.properties in the ./android folder. Paste the following code in the local.properties .
//For Windows
org.gradle.java.home="C:\Program Files\Java\jdk-19\bin"
sdk.dir = C:\\Users\\userName\\AppData\\Local\\Android\\Sdk

//For MacOS
ndk.dir=/Users/userName/Library/Android/sdk/ndk-bundle
sdk.dir=/Users/userName/Library/Android/sdk
This should solve the issue, if you again some kind of same error then simply open the ./android/gradle.properties replace the text org.gradle.jvmargs=-Xmx2048m -XX:MaxMetaspaceSize=512m to org.gradle.jvmargs=-Xmx2048m -Xms2048m -XX:MaxMetaspaceSize=1024m -XX:ThreadStackSize=4096 -XX:CompilerThreadStackSize=4096
Don't feel afraid by seeing all these, these are just some basic configurations to run the app. If you are still facing any issues, delete the ./node_modules and then run the following command.
$ npm i
Don't get demotivated by seeing the amount of errors you are getting, just read the errors and work on it. Errors are the only things that make a perfect developer. If you still couldn't run the app, send your error message screenshot to my Instagram, I'm open to help.
Outro:
Congrats to every person who came up this far and followed the process that I was instructed from the start. Running a React-Native app is a very difficult task, you'll face many issues while starting a React-Native app, but it's okay if you try solving them one by one you got this. Don't stop this just because, you couldn't resolve those issues.
Thank you, everyone, for your incredible support. A like and share is appreciable and do share your thoughts in the comments section, it helps me improvise myself and create more great content. Don't forget to subscribe to that New's Letter, to never miss out on the upcoming blogs.
Thank you...
